Editing photos is a crucial step in the photography process, and it can take your images from good to great. Whether you're using Lightroom, Photoshop, or any other editing software, the key to success is understanding the various tools and techniques available to you, and how to use them effectively. Here are some tips for editing photos like a pro:
-
Crop and straighten: Start by cropping your image to improve its composition and straightening it if it's not level. This will help you to focus on the subject of the photo and create a more visually appealing image. A good rule of thumb is to use the rule of thirds as a guide, placing the subject of the image along one of the lines that divide the image into thirds.
-
Adjust the exposure: The exposure of a photo refers to how light or dark it is. Use the exposure slider to adjust the overall brightness of the image. Be careful not to overdo it, as this can lead to washed-out or overly dark images. If you're shooting in a tricky lighting situation, try adjusting the shadows and highlights separately to retain detail in both the bright and dark areas of the image.
-
Adjust the contrast: The contrast of a photo refers to the difference between the lightest and darkest areas of the image. Use the contrast slider to adjust the overall contrast of the image. Be careful not to overdo it, as this can lead to overly contrasty images. If you want to make more precise adjustments, try using the levels or curves tools, which allow you to adjust the brightness of specific tones in the image.
-
Adjust the color: Use the color sliders to adjust the overall color of the image. This can help to create a more natural or stylized look, depending on your desired outcome. For example, you can increase the saturation to make the colors more vibrant, or decrease it to make the image look more muted. You can also use the color balance sliders to adjust the color temperature of the image, which can help to create a warm or cool look.
-
Adjust the white balance: White balance refers to the overall color temperature of the image. Use the white balance sliders to adjust the overall color temperature of the image. This can help to correct any color cast caused by the lighting conditions under which the photo was taken. For example, if the image has a yellow or orange cast, you can adjust the white balance sliders to add more blue to the image, which will cool it down.
-
Retouching: Retouching refers to the process of removing unwanted elements, such as blemishes, wrinkles, or stray hairs from an image. This can be done using the clone stamp tool, the healing brush, or the patch tool. It's important to be subtle with
your retouching and not to overdo it, as this can lead to an unnatural or fake-looking image.
-
Sharpening: Sharpening is the process of increasing the detail and clarity of an image. It's important to sharpen your images after you've made all other adjustments, as sharpening can accentuate any noise or other artifacts in the image. Use the sharpening tools in your editing software to selectively sharpen different areas of the image, such as the eyes or the hair.
-
Noise reduction: Noise is a common problem in digital photography, especially when shooting in low-light conditions. Use the noise reduction tools in your editing software to reduce the amount of noise in your images. Be careful not to overdo it, as too much noise reduction can lead to a loss of detail and a smooth, artificial look.
-
Saving and exporting: Once you've finished editing your images, it's important to save and export them properly. Use the "Save As" function to create a new copy of the image, so that you can go back to your original if needed. When exporting your images, make sure to choose the right file format and size for your intended use. For example, if you're going to print the image, choose a large size and a high-resolution format such as TIFF or JPEG. If you're going to share the image online, choose a smaller size and a lower-resolution format such as JPEG or PNG.
By following these tips, you'll be well on your way to editing your photos like a pro. Remember, editing is a creative process and there is no one right way to do it. Experiment with different tools and techniques, and find the methods that work best for you and your images.
-
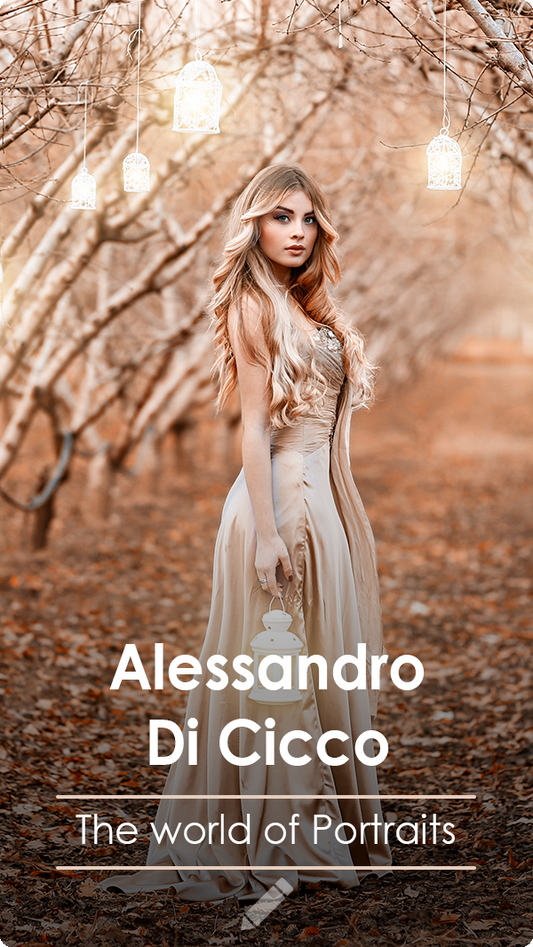
We have a wonderful editing course by Alessandro Di Cicco, an international portrait photographer:

